
It's DAY 6 of my series and today I will be sharing a non edible treat. Besides being an avid paper crafter, I am also an avid BATH & BODYWORKS shopper. I love all the yummy fragrances and they always have fun seasonal choices. The fragrance I chose was MARSHMALLOW PUMPKIN LATTE.
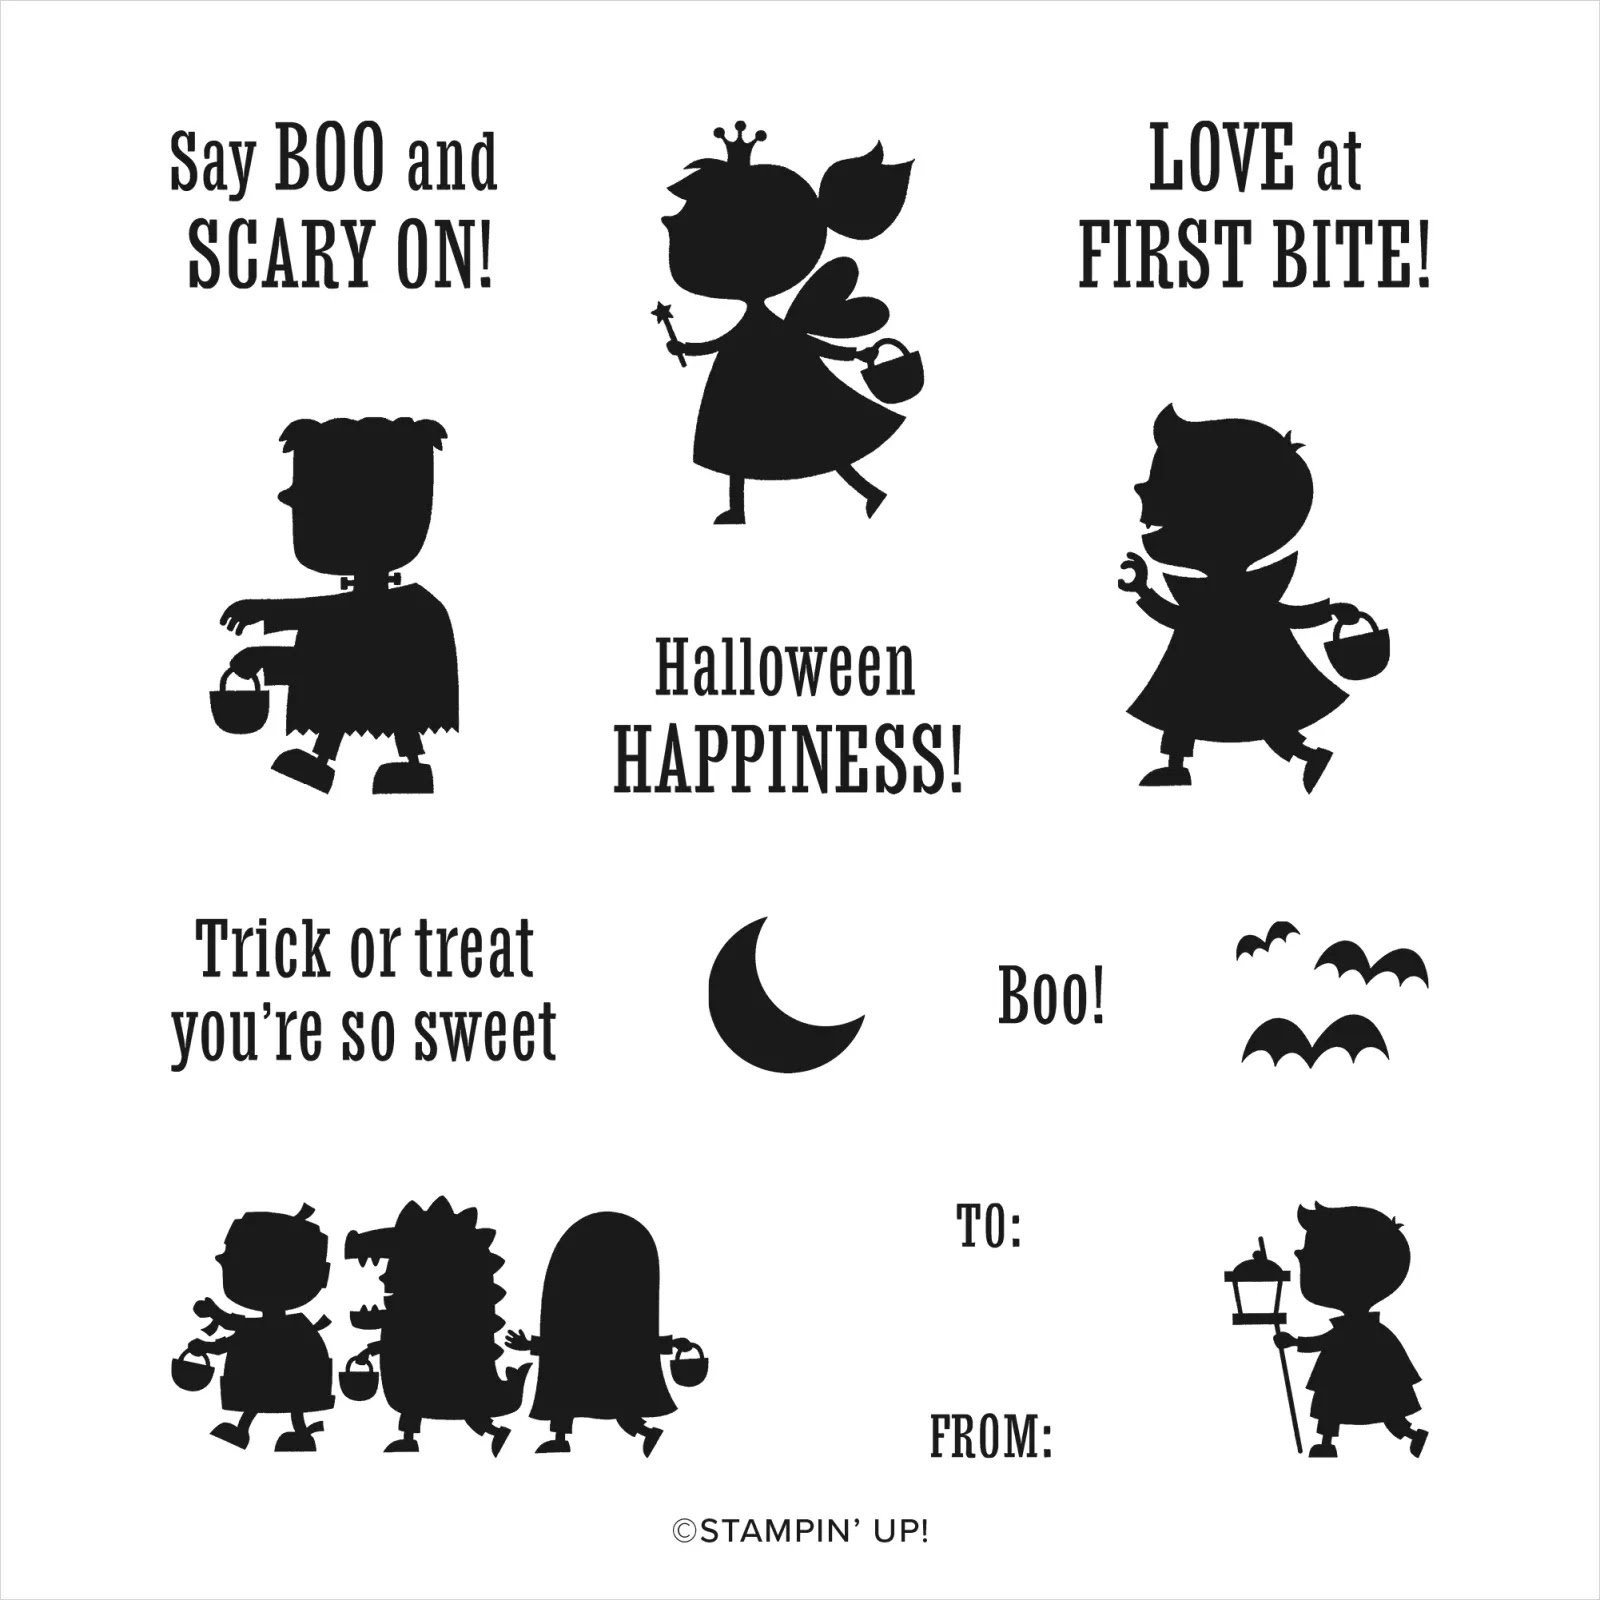
The products I used for this project are the same products used for all the projects in the series. I used the GINGHAM COTTAGE DSP and the SCARY CUTE STAMP SET. Both shown below.

To create this gift box, start with a piece of CALYPSO CORAL CARD STOCK cut at 9-5/8in by 7in. On the LONG SIDE, score at 1-1/4in 2-1/2in and 8in. On the SHORT SIDE, score at 1-5/8in, 3-1/4in, 4-7/8in and 6-1/2in. The template below shows how the cardstock will look after it's creased and excess cardstock is cut away.

Before assembling your box, adhere 4 pieces of DSP to the large panels, measuring 5-1/4in by 1-3/8in. Two pieces of DSP for the closure at the top measure 1-3/8in by 1-1/8in. Lastly, using a corner rounding tool, round the remaining corners on the closure flaps.
Adhere the box together by placing TOMBOW on the 1/2in panel. Glue the bottom flaps and close the bottom of the box.
For the embellishments on the front of the box, I used a die from the TAILOR MADE TAGS DIES and BASIC WHITE CARDSTOCK. On that tag, stamp the moon image using DAFFODIL DELIGHT INK and the BOO! sentiment in BLACK MEMENTO INK. On a scrap piece of BASIC WHITE, stamp the cut little Frankenstein image and "fussy cut" using your PAPER SNIPS. Add the die to the front of the box with TOMBOW and the Frankenstein with DIMENSIONALS.
On a scrap piece of CALYPSO CORAL CARDSTOCK, stamp the TRICK OR TREAT, YOU'RE SO SWEET sentiment, cutting out only the first three words. With DIMENSIONALS, adhere this to the bottom of the box as shown.
Slide your Fragrance Mist into the box and pinch together the closure. Using a paper punch, punch two holes side by side on these panels. Thread a piece of BLACK & WHITE GINGHAM RIBBON through the holes and tie a bow.
Click on the link below to see how the box comes together.
If you would like a PDF Tutorial for this project, click below.
All the products used for this project are available in my online store.
Come back soon to see DAY 7's creation.
Keep Stamping,
Barb Reed
The Wexford Stamper

No comments:
Post a Comment