 |
The BANNER YEAR stamp set is a favorite from the Annual Catalog that is so versatile, covering a number of holidays.
Start with a piece of CRUMB CAKE card stock, cut at 8in by 9-1/2in. On the SHORT SIDE, score at 1/2in and 1-1/2in from both ends. Score at 1/2in, 4in, 5in and 8-1/2in on the LONG SIDE. Below is a picture of the box template, cut for assembly.
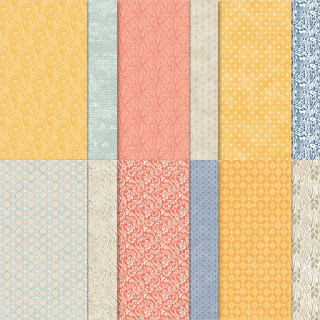
Before assembling the box, adhere a piece of DSP, cut at 3-3/8in by 4-7/8in to the lid of the box. Assemble using TOMBOW. Cut a coordinating strip of DSP at 1/2in by 4-7/8in and adhere about 1/2in from the bottom edge of the lid.
Next, to make the pumpkin, cut three of the same size ovals with the LAYERING OVAL DIES on CALYPSO CORAL card stock. Using a SPONGE DAUBER, ink up the edges of the ovals using CALYPSO CORAL ink. Adhere all three together to form the pumpkin. Cut a stem using GRANNY APPLE GREEN card stock and adhere on top. Using DIMENSIONALS, place pumpkin on the box. Tie a double bow using the LINEN TWINE and adhere at base of stem with GLUE DOTS. Finally, on a 1/2in strip of BASIC WHITE card stock stamp the sentiment using EARLY ESPRESSO ink. Adhere to the box to the right of the pumpkin.
For the treat inside, I purchased LITTLE DEBBIE MINI APPLE PIES. I found them at our local grocery store. Remember, you can go on the Little Debbie website and use the SNACK FINDER to find what stores near you carry these yummy treats. What a nice fall surprise treat!! I think I may make these for my teacher friends. Well deserved after the first few weeks of school.
The video below will show you how the treat box comes together. Just click on the link.
A downloadable PDF tutorial is available here. Just click.
All products used to make this project are available in my online store. Click on the link below to shop.
If you have any questions about this or any other project on my blog, don't hesitate to email me at blreed@comcast.net. Thank you so much stopping by my blog. Next week is my annual HALLOWEEN WEEK. That's one Halloween project every week day next week, Monday through Friday. Check out the quick and easy treat holders.
Keep Stamping,
Barb Reed
The Wexford Stamper


No comments:
Post a Comment