Spring is finally here in York PA and everything is green and beautiful. Last week I saw the flower tents going up around the city, getting ready to sell. This reminded me how close we are to Mother's Day and that I had the greatest mom ever. I really do miss her but now I take the opportunity to encourage other mom's by making small inexpensive gifts to let them know that they are loved. As we all know MOTHERHOOD is not for cowards. It's the hardest job you will ever love. I know most of my friends will love something sweet, so I created two gift boxes, one holds a dark chocolate candy bar the other delicious caramels.
The PLEATED GIFT BOX looks so complicated, but by using a ruler to make a few tick marks and some crafty scoring, it's quite easy to put together.

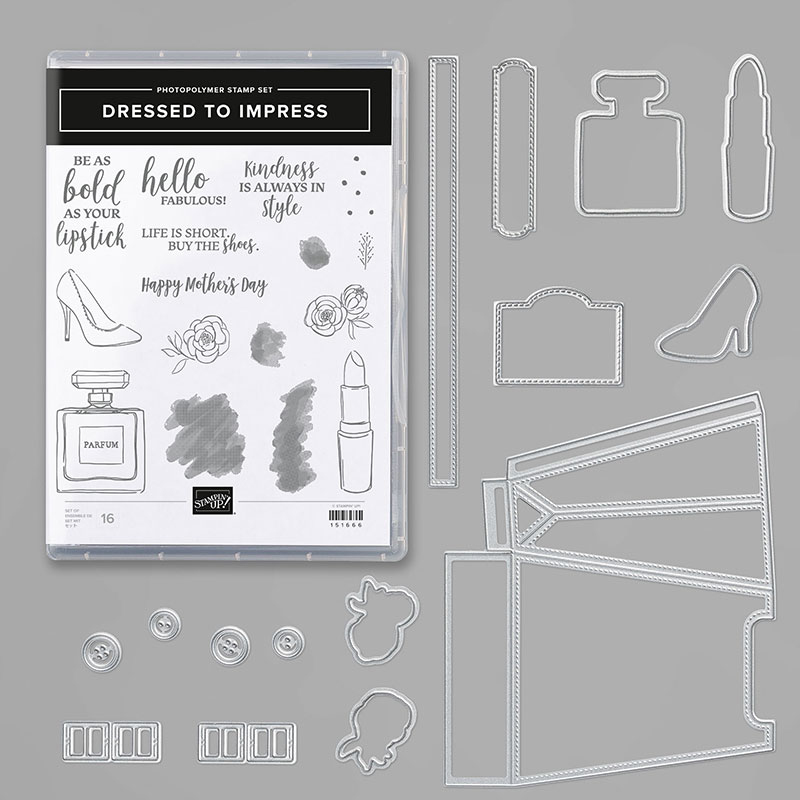
I used the BEAUTIFUL FRIENDSHIP STAMP SET and the DRESSED TO IMPRESS BUNDLE along with the beautiful MAGENTA MADNESS card stock and ribbon.


Start with a 10-1/2in by 5in piece of MAGENTA MADNESS card stock. Before scoring, use the flower image to stamp randomly with MAGENTA MADNESS ink on the cardstock. On the SHORT SIDE, score at 2in. On the LONG SIDE, score at 2in, 4in, 6in, 8in and 10in. Staying on this side, go back and put a tick mark at 1in, 3in, 5in, 7in and 9in. With a ruler measure up 1in from the tick mark, then using a scoring tool and a ruler, score a line from the new point to each of the scored corners, forming a triangle in each panel. Below is a picture of the template after scoring and cutting.

Carefully pinch around the cardstock to lightly fold all the triangle folds. Using TEAR & TAPE, adhere the box together along the short half inch panel. Now pinch together at the center of each of the top panel and hold the box together. Turn box upside down and allow the bottom flaps to fold down. Using TOMBOW, adhere these flaps together.
Once the bottom has dried, pinch in the five pleats at the top and using a paper punch, punch a hole through both layers. Then take the MAGENTA MADNESS ribbon, thread it through the holes and tie a bow on top. Finally, I made a tag using the LABEL ME FANCY PUNCH. I stamped the tag in MAGENTA MADNESS INK with the HELLO FABULOUS sentiment. Punch a hole using the punch and attached the tag to the box using WHITE BAKER'S TWINE.

I love this box. I think it's the perfect size to hold wrapped caramel candies. There are so many things that could fit. Try it. For my second project, I designed a cute little box for a dark chocolate bar. I was inspired by a fellow demonstrator, Alyssa from KITCHEN TABLE STAMPERS. Her box was a bit longer so I had to adjust the measurements a bit.

The chocolate bar I used was a MOSER ROTH GERMAN DARK CHOCOLATE/SEA SALT- 4.4 ounce bar. Below is the Amazon link I used to purchase them.

Using TEAR & TAPE, adhere the 1/2in edge of the box to the far panel to create the box. Fold in the bottom of the box and adhere with TOMBOW. Slide in the candy bar and tuck in the top flap. Cut two pieces of coordinating DSP, each 1-3/4in by 3-5/8in to the front and back of the box. I used the paper from the BEST DRESSED SUITE.

I tied a ribbon the long way with the bow on top, using the BLACKBERRY BLISS STRIPED RIBBON. For the label on the front of the box, I used the SIMPLY SUCCULENT BUNDLE.

I used the YOU MEAN SO MUCH TO ME sentiment from the INBLOOM STAMP SET, stamping it in BLACKBERRY BLISS INK. I stamped the flower image from the DRESSED TO IMPRESSED STAMP SET using MEMENTO INK but you can use anything you have in your stash. Finally, I used my PURPLE POSY and my SOFT SEAFOAM BLENDS to color the flower and put both the label and the flower on with DIMENSIONALS.
I've also included a link to a PDF tutorial here.
Thanks as always for visiting my blog. The products I used for these two projects are available in my online store. Just click below.
If you have any questions about this or any other project on my blog, don't hesitate to contact me at blreed@comcast.net. Don't forget to come back next week for more inspiration.
Keep Stamping,
Barb Reed
The Wexford Stamper